Playing with Concrete
Posted on May 28 2019

'What's it like working with concrete?' is a common question I get asked so here's a little insight into the world of concrete pot making.
Think back to your childhood making mud pies, building things, getting dirty and enjoying life - it’s a little like that. There are a few key differences in ingredients and technique but it makes you feel like a child again. Getting your hands dirty, creating new things by experimenting and having fun, who would say no to that.
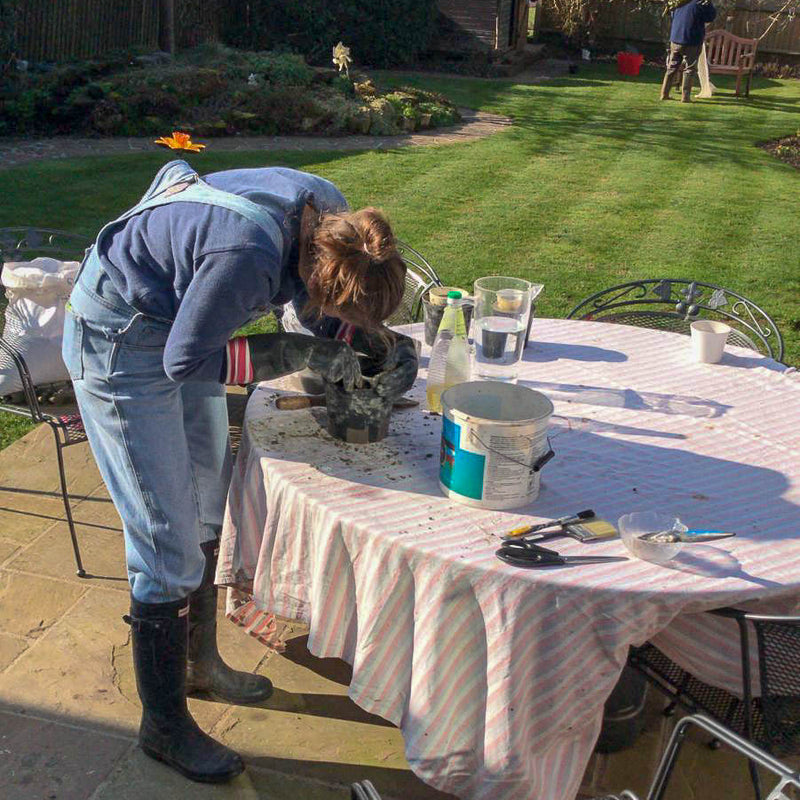
Here's a little step by step guide into my messy, yet addictive process of making a concrete pot. To set the scene, picture me fashioning wellies, a dust mask and goggles in the back garden - I know right it's a strong look! Oh and trust me you don't want to do this inside - concrete dust flies everywhere, not ideal!
Step 1: Size matters. Select your concrete moulds. I use a separate inner and outer which gives me flexibility of shape and size of my pot. Coat the moulds with a thin film of vegetable oil, this makes it easier to separate them from the concrete after it's set. Trust me you don’t want to forget to oil - been there done that!

Step 2: Dress to impress. Essential safety gear is a must so grab your wellies, dust mask, goggles and rubber gloves (as you can see in the picture I improvise). Concrete although fun is not a very friendly substance once wet so you need to make sure you're covered up. If some does sneak onto your skin don’t panic just wash it off with water straight away.

Step 3: Get down and dirty (the fun bit!). Add the cement, aggregate and water into a bucket and really go for it - put some elbow grease into it. This is a great arm toning workout. If making marbled pots this is the point where a coloured pigment is swirled in. If you're feeling brave go for multi-coloured marble - why not!

Step 4: Pour, push and press. Part fill the outer mould with the well-mixed, potentially colour-swirled concrete then place the inner mould on top, pressing it down into the mixture to create the desired shape be it a square, circle, or hexagon.
Step 5: Banish those bubbles. To increase the strength and evenness of the concrete tap the mould to release air bubbles from the mixture. I do this with a spoon or trowel, drumming a little tune and humming to myself for a few minutes. If having a bad day it's a great stress relief.

Step 6: The long night. Concrete will want to push your inner mould up and out of shape, which is annoying, so once happy with the shape secure the mould in place by weighing it down or taping it in place. Leave it somewhere cool out of direct sunlight, I pop mine in the shed, and cover with plastic sheeting for 24-48 hours to cure. Time for a cuppa to celebrate!

Step 7: The grand reveal. It is time. Carefully remove the moulds and gaze upon your creation - I know, pretty amazing right! The concrete is still slightly wet so it’s important to leave it to dry out for another 5-7 days, dependent on the size and thickness of the pot. During this time expect the colour of the pot to get lighter.

Step 8: Rough to smooth. At this stage the pot edges still look a little rough and ready so it’s time to smoothen it up for the big wide world. I use a range of sand papers to smooth down the edges leaving a more finished look ready for painting.

Step 9: Get creative. Design, paint and create a unique style on the dried concrete pot. Just go for it, no point holding back now.

Step 10: Set, sealed, delivered. And now for the finishing touches. Concrete is porous so it’s important if using it as a indoor plant pot to coat with a waterproof sealant before use. Pop some little felt feet to the bottom of your pot, match with a great house plant and its ready to go to a new home.


Hope you enjoyed my concrete pot run down. There are many ways to experiment and create with concrete so please feel free to share your creations, questions, hints and tips below in the comment section or you can email me direct at sarah@twigplants.co.uk
1 comment
Thanks so much for sharing your craft,just wondered if you could add pva to waterproof the pots?